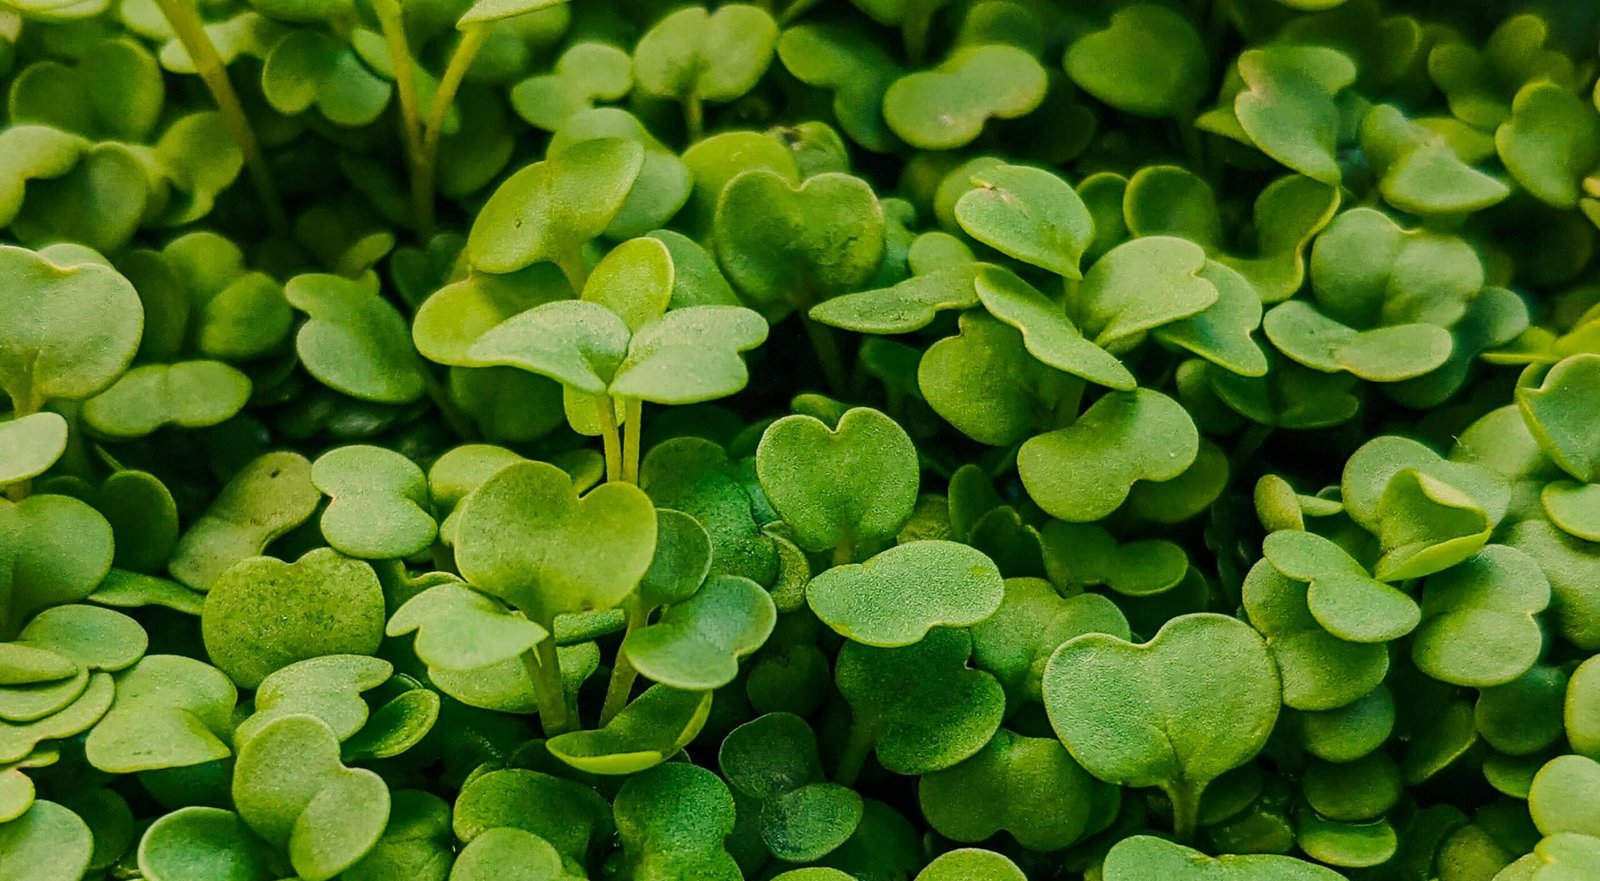
Microgreens
Microgreens are the young seedlings of edible plants such as amaranth, chia, fenugreek, mustard, and many other crops. They are harvested while they are still young and are commonly used in salads, sandwiches, wraps, and other dishes.
One of the best things about microgreens is that you don’t need a large garden or expensive equipment to grow them. With a small container, some growing material, and seeds, you can start growing them at home with almost no extra cost.
Step 1: What Do You Need
what we need?
- A small container or tray
- Coco peat or another suitable growing medium
- Microgreen seeds
- Water
Don’t have coco peat? You can make use of materials you already have at home.
For example, dried coconut material can be processed and mixed with soil to improve the growing medium’s ability to hold moisture. The important thing is to use a clean container and a growing medium that drains reasonably well.
Step 2: Choose Your Seeds
You don’t necessarily need to buy special microgreen seeds when you’re just starting.
You can experiment with seeds that you already have in your kitchen, such as:
- Mustard
- Fenugreek
- Amaranth
- Chia
However, make sure the seeds are untreated and suitable for growing and eating as sprouts or microgreens. Avoid seeds that have been chemically treated for agricultural planting.
Before sowing, rinse the seeds with clean water.
Some larger or harder seeds can also benefit from soaking for around 2 hours before sowing. Very small seeds may not need soaking.
Step 3: Prepare the Container
Fill your container with your growing medium.
Don’t pack the soil too tightly. You want the roots to have enough space and the excess water to drain away.
Level the surface so you can spread the seeds evenly.
After soaking the seeds, drain them and place them on a clean piece of paper or another clean surface for a short time.
This removes excess surface water and makes the seeds easier to handle without them sticking together.
Step 4: Sow the Seeds
Spread the seeds evenly across the surface of the growing medium.
Try not to create large piles of seeds in one area. An even layer will give the seedlings more room to grow.
After spreading the seeds, cover them with a very thin layer of growing medium.
Then gently spray the surface with water.
For the first few days, keep the container in a bright location but avoid intense direct sunlight, especially if you’re using a small container that can heat up quickly.
Too much heat can dry out the growing medium and stress the young seedlings.
Step 5: Watering and Germination
This is where many beginners make a mistake.
Don’t keep the growing medium constantly soaked.
Check the moisture regularly. Press the surface gently with your finger or thumb to see how it feels.
If the medium is already very wet, don’t add more water. Give it time to drain and dry slightly.
If it feels dry, lightly spray it with water.
Overwatering can create conditions that encourage fungal problems and damping-off, which can quickly damage young seedlings.
Depending on the seed and growing conditions, germination can begin within a few days.
When the seedlings appear, don’t manually pull off seed husks that are stuck to the leaves. Trying to remove them can damage the young plant.
Instead, keep the seedlings properly hydrated and allow the seed coat to loosen naturally.
Continue giving them adequate light and moisture as they develop.
Step 6: Harvesting
When your microgreens have reached around 2 inches in height and have developed their first leaves, they may be ready to harvest, depending on the crop.
Use a clean, sharp pair of scissors or a clean knife to cut the greens just above the growing medium.
Remove any damaged, brown, or unhealthy-looking pieces.
For the best quality, harvest only what you plan to use soon and keep harvested microgreens refrigerated in a clean container.
My Simple Tip for a Continuous Supply
Want microgreens available regularly instead of harvesting everything at once?
Try growing several containers on a schedule.
For example, start with 5–6 containers and sow a new container every few days.
Instead of planting everything on the same day, stagger your sowing. This means that while one container is ready to harvest, another is still growing.
You can adjust the gap depending on how quickly your chosen microgreen variety grows and how much you actually use.
One More Important Tip
If your goal is to grow microgreens for eating, don’t automatically use heavy pesticides or fungicides.
A better approach is to start with clean seeds, clean containers, clean water, good airflow, and proper watering.
Microgreens grow quickly, so preventing problems is much better than trying to fix a serious fungal problem later.
And that’s it.
You don’t need a fancy indoor farm to get started. A few containers, suitable seeds, a growing medium, water, and a little attention can be enough to start experimenting with microgreens at home.