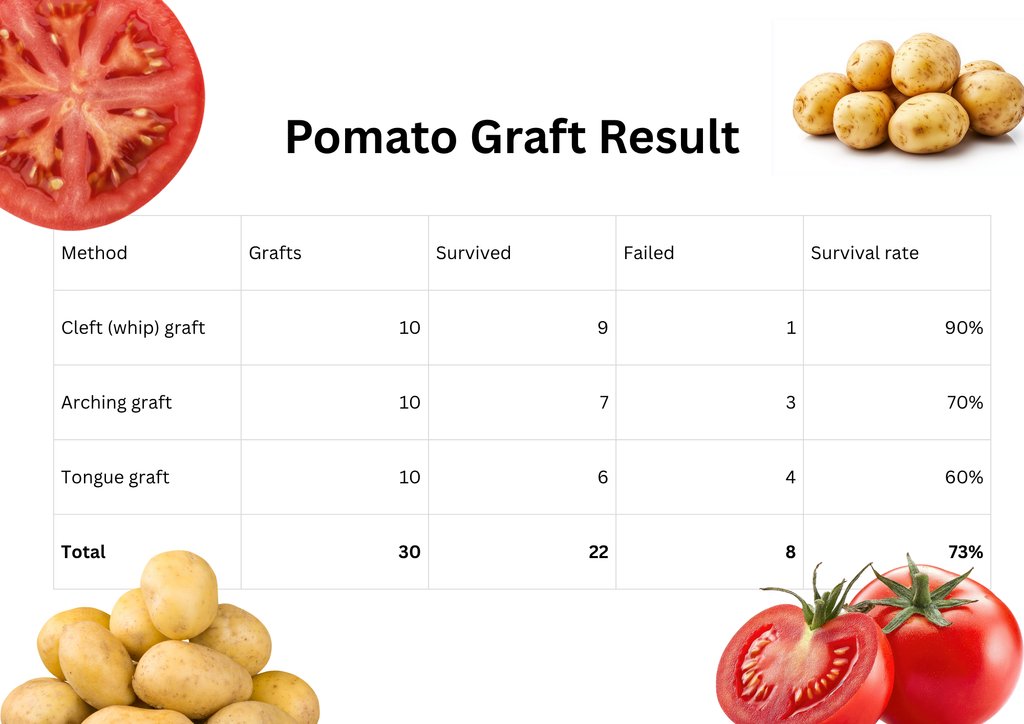
I tried pomato for the first time, grafting a tomato scion onto a potato rootstock using three grafting methods: cleft, arching, and tongue grafting. For this experiment, I started with 30 plants, but only 22 plants survived. Each plant gave tomatoes and potatoes during harvesting, but the yield of both plants was lower than a normal plant. The best in my test is cleft because it joins accurately.
What is pomato
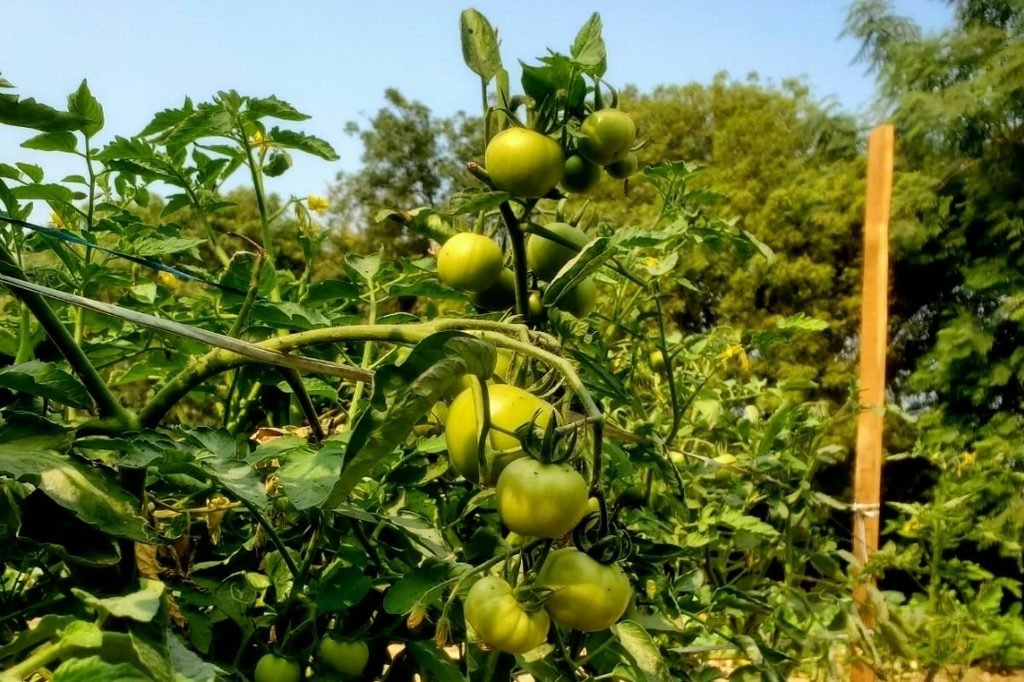
Pomato is a technique in which two plants from the same genus, solanaceous/nightshade, tomato and potato, are fused (tomato as scion or potato as rootstock). The tomato grows above the potato plant.
My setup notes
The tomato produce is safe to consume. But some potato plants grow in lower temperatures.
It produces small green berries after flowering, and those Potato berries are toxic, so don’t consume them (these berries look like cherry tomatoes). Same as potatoes that are exposed to sunlight produce a green, bitter, toxic(solanine), so earthing up of potato is essential.
Step 1
Seedling I sowed tomato seed in a plug tray before planting the potato because potatoes grow faster than tomatoes and get bushier. The goal is a potato and tomato stem of similar thickness at the time of grafting, if a change in thickness or mismatch makes it hard to line up the tissues.
Step 2
Graft. We tried three grafting techniques.
- Cleft grafting
- Arching grafting
- Tongue grafting
As both plants have soft tissue, it is too challenging during cutting, selection of the branch, and grafting.
Pro Tip
You can go with any grafting technique- cleft, arching, tongue- but the main principle is the same: The cambium of the rootstock and scion fuse. During the grafting process, use a clean, sharp cutter and wrap the graft with grafting tape (don’t use cello tape).
Step 3
Microclimate
The graft dries out rapidly, so it needs a microclimate while tissues combine.
- Cover the plant with a transparent plastic bag, fibre, or glass container.
- Remove the cover for 1-2 hours to maintain airflow.
- Irrigate with a fine mist or fogger and keep moisture off the union to avoid fungal infection.
- I prefer not to condition to maintain microclimate.
If the leaves turn yellow, drop, and dull near the graft union by day 7, the union has failed. But if new growth appears at the tomato graft union, the graft has taken, and the plant is moving forward.
8 grafts failed: 3 arch, 4 tongue, 1 cleft. The cause could be stem mismatch, a dried-out union, or handling.
Growth timeline
“Date 25”
The plant was larger and bushier. I took them with a wooden stick or plastic thread and hilled up around the base of the plant, or removed unwanted suckers and branches.
“Day 45”
The first yellow flower appeared on the tomato but dropped because of poor pollination, but after 7 days, a flower blossom fruit began to set about 12 days after it bloomed.
Month
2-3 harvests
Harvest
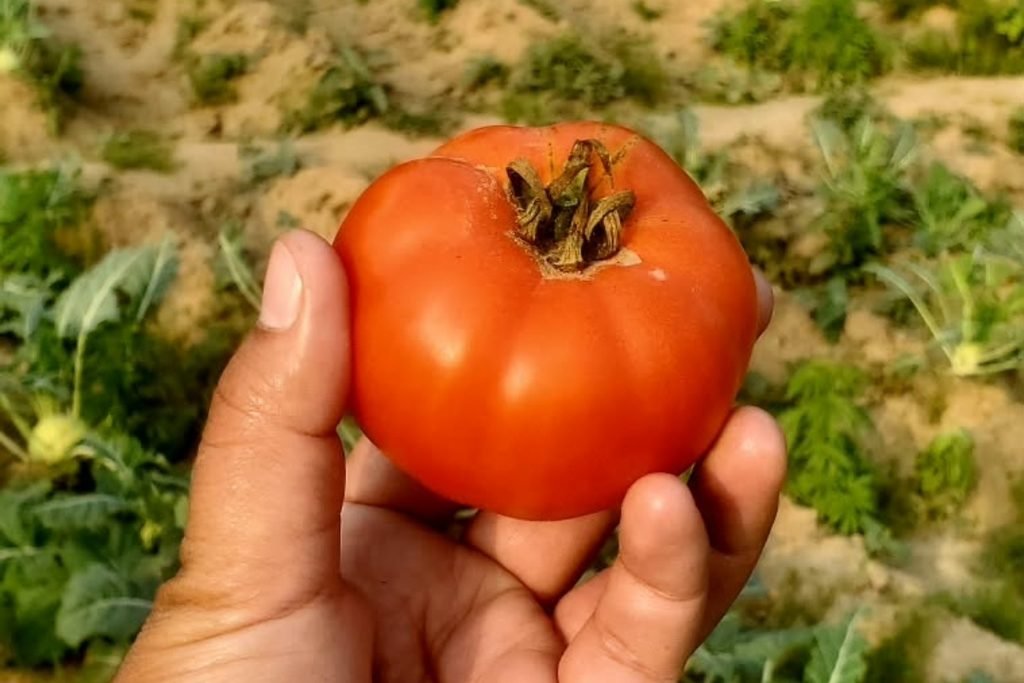
The potato tubers were small and few, 5 to 6, compared with their regular potato plant; total yield was lower than a standalone tomato plant. I suspected nutrient shortage because one root was feeding both the canopy and tuber. It’s worth it if you want to try something new; you can go, but if you want a healthy harvest from a small space, go with the regular crop; it will give you more, in my experience.
My setup location
CCS HAU Bawal Rewari Haryana India
Season
Winter: November to January
I don’t know about the variety of tomato and potato; growing medium: 1: 1:1 mix of garden soil, compost, and coco coir.
Tools
Sterile razor blade, grafting tape, and basic garden tools.
Note
Results vary depending on whether it is in the greenhouse, warmer zones, or warmer months; this is a small home test, not a controlled trial, so treat as a home garden guide.